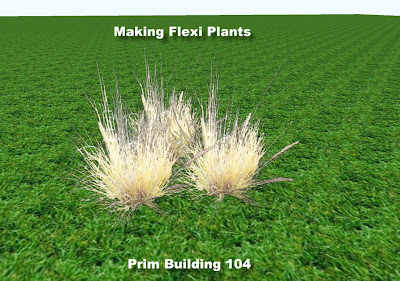
This tutorial covers:
- Transparent Textures
- Texturing on side of a prim
- Flexi Feature
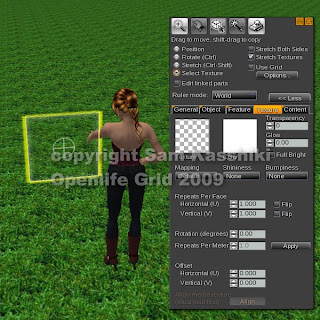 Rez a Box.
Change the size to "X = 1.000, Y = "0.020", Z = " 1.000"
First, make sure you know where your prim is :D
Next, 0pen the Texture Tab and texture the prim with the texture called "clear". It come in the default library. You can find it easily by typing in the word "clear" in the texture search slot at the top of the opening Texture pane (the one with the list of choices).
Your prim disappears. Click on the Select Texture radio button, and then click on ONE side of your prim.
Hint: If you have lost your prim completely, you can turn on the show transparency feature under the main toolbar menu. View> Highlight Transparent will make a red glow on all transparent prims. It is ugly but handy. You can turn it off in the same menu.
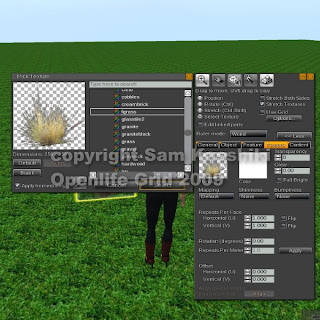 With ONLY ONE face of your transparent prim selected, look for the texture called "fgrass" in your texture library.
This comes standard. If you have other plant textures, you can of course use one of those instead.
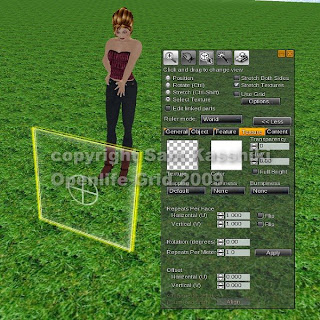 Now, once again with Select Texture chosen, click on the other face of the prim. It will look invisible at this time. Make sure you are not adding textures to the EDGES of the prim. We don't want that.
Put the same texture on the other side of the prim. Depending on the texture used, you may want to flip the texture so that both sides are going in the same direction. This is your choice.
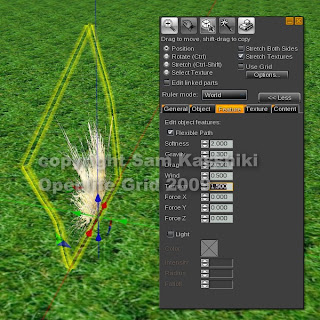 With the whole prim selected, go to the features tab and put a check in the flexi feature. This will make your prim soft and with some movement.
Add some Wind (I used 0.500) and some tension (I used 1.500 instead of the default). Play with these choices a bit to get the right feel for your plant.
You can move the plant with the arrow keys and see how it reacts.
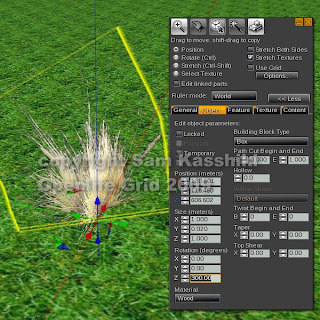 Now we are going to use that Snap Back feature you learned in the last lesson.
Shift + Drag a copy of your flexi prim. Use Ctrl + Z to snap it back to the original position. Change the Z rotation to "300.00".
Repeat the process changing the rotation on the third prim to "240.00".
You now have three prims in three equally spaced directions.
Highlight all three prims and link (Ctrl + L).
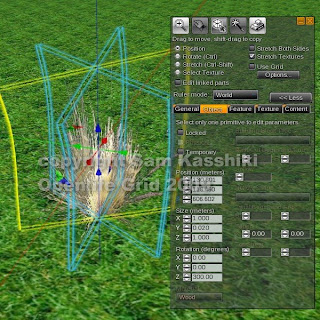 Name your plant in the Content tab and Take it into inventory.
You can Shift + Copy the linked plant to make a virtual flower bed, sand dune hill or forest -- depending on the texture used.
Have fun.
