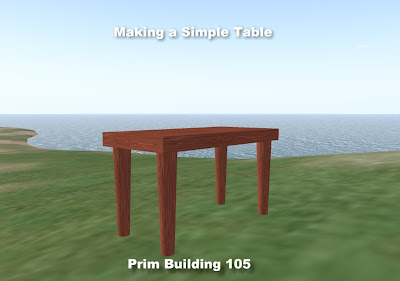
This tutorial covers:
- Copying multiple items
- Camera Controls
- Edit Link Parts
- Texture Rotation
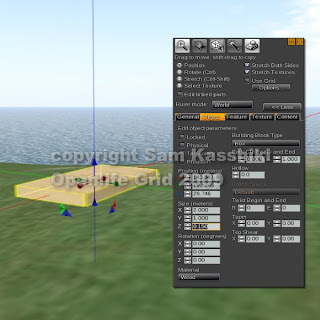 Rez a Box.
Change the size to "X = 2.000, Y = "1.000", Z = " 0.150" or any size you would like to have.
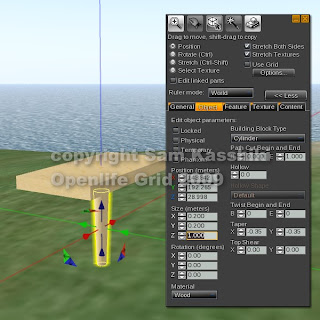 Make a copy (Shift + Drag) of your table top dragging DOWN on the blue arrow.
Change the block type to cylinder.
Change the size to "X = 0.200, Y = "0.200", Z = " 1.000" or any size you would like to have.
You have one leg and it is currently in the center position of your table. Note where the blue line comes through.
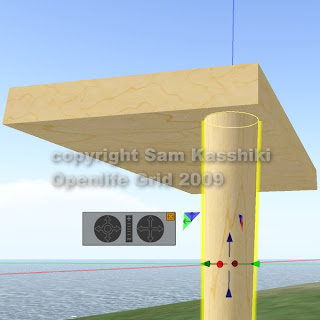 You need to move your leg to a corner of your table and align it so there is space from both sides. The amount of space is up to you.
In order to see your build from a variety of directions, you will need to use your camera controls.
If you don't normally have those turned on, go to the menu in the viewer toolbar. Choose View > Camera Controls and click so an "X" appears. You camera controls will show up on your screen in a small box.
Camera controls change your view. The one on the left rotates, the one on the right pans and the bar in the middle moves you in and out.
Camera controls are tricky, but definitely worth the effort to learn. So take some time and explore their workings. Eventually you will have your table leg aligned :D
Be sure that the table top meets the top of the leg.
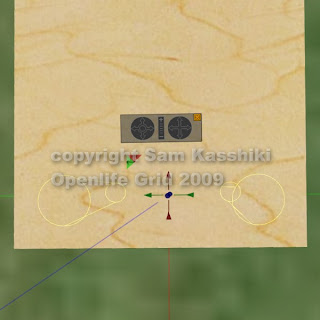 Copy your aligned leg using Shift + Drag to the other side of the table.
Use your camera controls to align the second leg so that it is more or less even. I know this is hard so don't beat yourself up if it isn't perfect.
Note that if you rotate the camera to look down on the table you can see the outlines of the selected legs "through" the table top.
This gives you a good idea of how even they are.
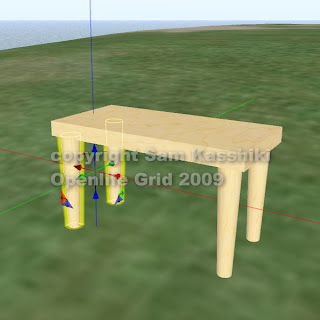 With BOTH legs selected (in my photo these were the legs on the right), Shift drag BOTH legs over to the far side of the table.
They will already be aligned for height and for distance between the two legs. You will only need to align them to the far edge.
They should of course be more or less the same distance from their far edge as the first two were from theirs.
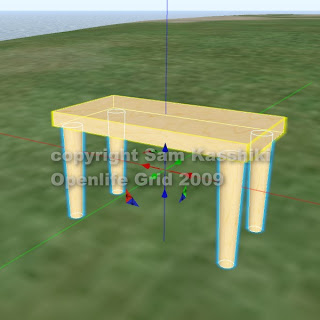 Link your table using the top as the root prim (the last one clicked before linking).
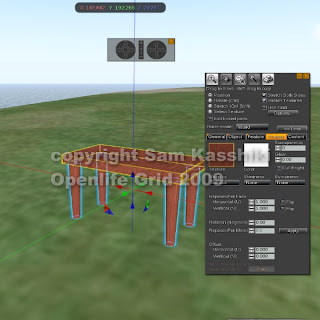 Go to the texture tab and choose a wood grain for your table. I used mahogany here to match our chair.
Since the whole table is already linked, the whole table becomes mahogany.
This is another way to texture.
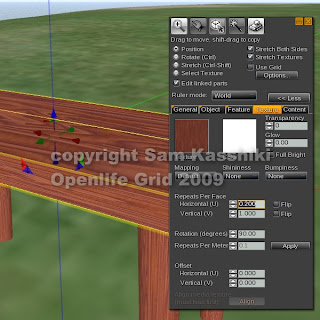 In my case, the texture looks good on the legs but not so much on the top. It is going on the wrong direction.
Since the table is already linked, we can edit just the table top by choosing "Edit Linked Parts" from the menu. This will change all six faces of the cube rather than just one face if we used Select Texture.
I changed the rotation direction to 90 and then the horizontal repeats to .200.
Adjust the textures as you like. Remember you can change JUST one face at a time by using the Select Texture option.
And we have a table. Congrats!
