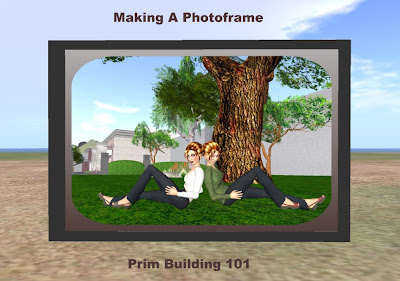
 In this first tutorial of the series we will be making a simple one prim picture frame suitable for art or photos. While most of the other tutorials will be made on the Openlife grid, this first one was photographed on Phil's beta grid and written at Blogger while the OLG goes through a major update. Happy New Year OLG!
As times change and viewers change the look of the build menus will most likely change. I will not be updating as the world moves around us. Hopefully you will be able to follow along with these basic learning tutorials at any stage of viewer development.
Click on the photos to get a larger view of the pictures as needed.
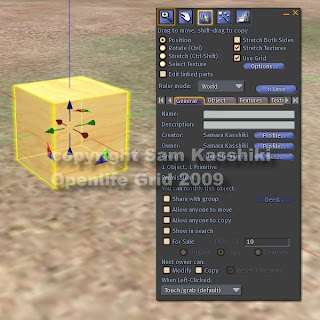 Right click on the ground and choose CREATE from the pie menu. Your cursor turns into a wand and the OBJECT window of the build menu opens. You will see a row of shapes with the cube highlighted.
Touch the wand to the ground in front of you. A cube shape box appears. Looking at the GENERAL tab we see a place to name your object. You can type in Photo Frame to replace the default "Primitive".
This is the screen where you would set the permissions and price of an object as well as where you would choose "Allow Anyone To Copy" in order to make a Take a Copy item.
More on that in another post.
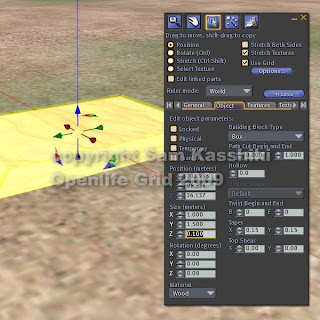 Move back to the OBJECT tab by clicking on the tab. We are going to change the size of our box and taper the edges to represent a frame edge.
Find the fields for Size in Meters on the left and in the X field type in a "1" and in the Y field type in "1.5" and "0.100" in the Z field.
Find the Taper fields over on the right (across from the size fields) and use the arrow to make the fields say "0.15". You could type that in also of course.
We now have a plywood picture frame -- flat on the ground.
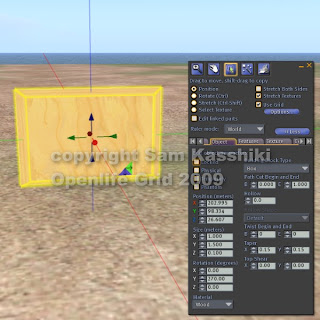 Find the Rotation fields on the left (below size) and type in "270.00" in the Y field. This will rotate the picture frame so that it can hang on a wall rather than sitting on the ground.
Our picture frame is partially buried in the ground now, so using your mouse, drag UP towards the top of the screen on the BLUE arrow (it is pointing up as you can see :D).
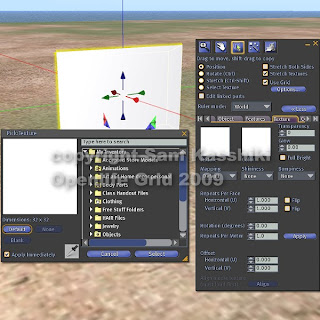 Find the TEXTURE tab in the build menu and click on it to open the texture pane.
With the object selected (as shown in the photo) click on the box that says Texture (it will look like a piece of plywood until we complete this next step). A texture choice window will open. While we could add a texture to the frame at this time, we are instead going to make a plain frame by clicking on the small button that says Blank.
When the frame turns all white, click on the Select button. The texture selection window disappears.
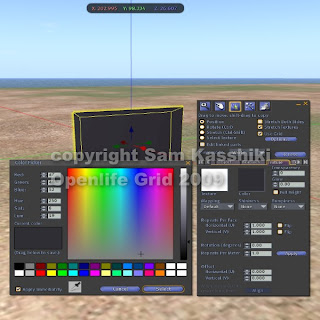 To add color to your frame, click on the box that says Color and a color choosing window appears. You can choose any of the colors from the premixed samples below - or - you can click on the big rainbow window until you find a color that you like.
When you find a color that you like showing up in the Current Color box on the left, click Select and that color will appear on your frame.
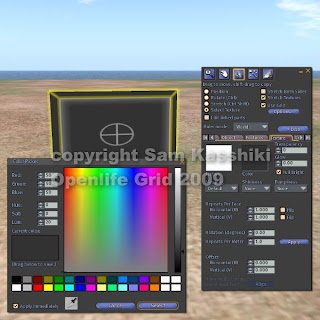 Next, in the build menu pane, click on the radio button next to Select Texture. This will let you change just ONE face of the prim.
Click on the center of the photo frame, where you picture will go, and a target symbol appears. This let's you know you will be changing that particular face of the prim.
Click on the color box again, opening the color picker and turn that face of the prim back to white by choosing white from the color choices.
Put a check in the box called Full Bright (to the right of the color box).
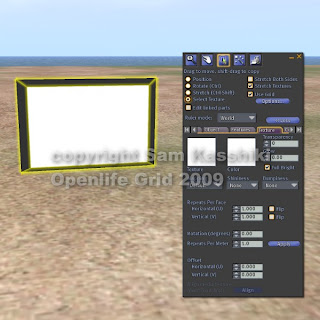 You now have an empty frame that will show off you favorite photo or pictures.
You can use either a texture you have uploaded (png or tga) or a picture you have taken within the viewer using the File > Take Snapshot Option. [Note: I am not sure that is active in OL as I write this but it will be soon if it isn't now).
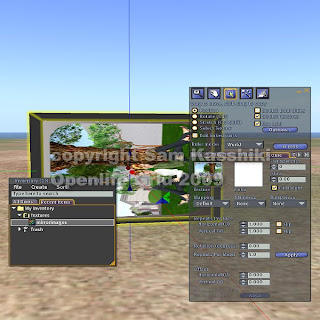 Open your inventory and find a texture or a picture that you want to put in your frame.
Carefully, drag the picture from your inventory onto the face of the prim where the photo will go.
You picture will not always appear perfectly on your photo frame. In this case the direction is off.
We can fix that by using the Rotation field in the Texture Window of the build menu. The numbers that would likely go here would be either 90, 180 or 270. In my case the "270" was a winner. You can also flip your photo as needed. Play around with this until it looks just like you want it.
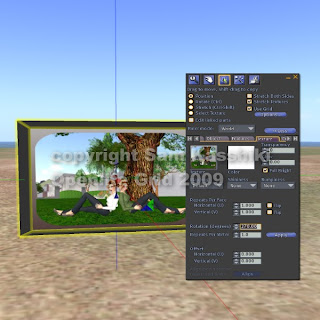 Depending on the height to width ratios of your texture or picture, you may want to change the size of your painting.
Just go back to the Object tab and type in some new sizes for height and width.
Alternately you can use the tiny up and down arrow buttons associated with the field windows.
Be sure and name your work if you didn't do that in the beginning and take your framed artwork into your inventory.
All done!
